
Understanding and optimizing GANs (Going back to first principles)
The hype around Generative Adversarial Networks (GANs) had been growing ever since the architecture was first introduced by Ian Goodfellow…

The hype around Generative Adversarial Networks (GANs) had been growing ever since the architecture was first introduced by Ian Goodfellow and the numerous advancements and applications become more and more fascinating by the day. But for anyone who wants to get started with GANs, it can be quite tricky to figure out where to start. ‘Don’t Panic.’ This post shall guide you.
As with many things, the best way to fully understand a concept is to hit the roots. Grab hold of the first principles. For GANs, this is the original paper here ->(https://arxiv.org/abs/1406.2661). Now to understand a paper of this sort there can be two approaches, theoretical and practical. I often prefer the latter, but in case you love to dig deep into the math, here is a great post by my buddy Sameera breaking down the entire algorithm theoretically. In the meantime this post will present a simple implementation of the algorithm in its purest form using Keras. Let’s get started.
In the underlying setting of a GAN are two models namely, the generator and the discriminator, where the generator is constantly competing with the discriminator, which is an adversary that is learning to distinguish between the model distribution (e.g. generated fake images) and the data distribution (e.g. real images). This concept is famously visualized by a counterfeiter vs policeman scenario, where the generative model is thought of as a counterfeiter generating fake cash and the discriminator model as a policeman trying to detect the fake cash. The idea is that with constant competition between each other, both the counterfeiter and the policeman improve in each other’s role but ultimately the counterfeiter achieves a stage of producing fake cash that is indistinguishable from the real ones. Simple. Now let’s put this into code.
The example script provided with this post is used to generate fake images of faces. The ultimate result we are trying to achieve with the algorithm is represented in Figure 1.
Building the Generator model
So the generator model is supposed to take in some noise and output a desirable looking image. Here we use Keras Sequential model along with Dense and Batch Normalization layers. The activation function used is Leaky Relu. Refer the code snippet below. The generator model can be divided into several blocks. One block consisting of Dense Layer -> Activation ->Batch Normalization. Three such blocks are added and the last block transforms the pixels into the desired shape of the image we’re expecting as the output. The input to the model will be a noise vector of shape (100,) and the model is returned at the end. Note how the nodes in each dense layer increases as the model progresses.
Building the Discriminator model
The discriminator takes in an input of an image, flatten it and pass it through two blocks of Dense -> Activation, to finally output a scalar between 1 and 0. Output 1 should represent that the input image is real and 0 otherwise. Simple as that. Refer the code below.
Note :-
You can modify these models later to have more blocks, more batch norm layers, different activations etc. As per this example, these models are enough to understand the concepts behind GANs.
Finding loss and training
We calculate three losses, all using Binary Cross Entropy in this example in order to train the two models.
First the discriminator. It is trained to go two ways as shown in code below. First to output 1 for real images (array ‘img’) and then to output 0 for generated images (array ‘gen_img’). As training progresses the discriminator improves at this task. But our end goal is attained at a theoretical point where the discriminator outputs 0.5 for both types of inputs (i.e. indecisive if fake or real).
Next is training the generator, which is the tricky bit. To do this we first formulate a combined model of Discriminator given the output of Generator. Remember! Ideally we want this to be 1, which means the Discriminator identifying a fake generated image as real. So we train the output of the combined model against 1. See the code below.
Now let’s play!
That is pretty much the gist of the code to simply understand the workings of GANs.
*** The full code can be found here on my GitHub. You can refer to all the additional code for importing RGB images, initializing the models and logging the results in the code. Also note that during training the mini-batches are set to Hi32 images in order to be able to run on CPU.
Also the real images used in the example are 5000 images from the CelebA dataset. This is an open source dataset and I have uploaded it to my Floydhub for easy downloading which you can find here. **
There are many ways you can optimize the code to obtain better results and also to get an idea how different components of the algorithm affect the efficiency of the results. Observing the results while tweaking different components such as the optimizers, activators, normalizations, loss calculators, hyperparameters etc, is the best way to enhance your understanding of the algorithm. I chose to vary the optimizers.
So training for 5000 epochs with batches of 32, I tested with three types of optimization algorithms. With Keras this process is as easy as importing and replacing the name of the optimizer function. All optimizers in-built to Keras can be found here.
Also the losses where plotted in each instance to understand the behavior of the models.
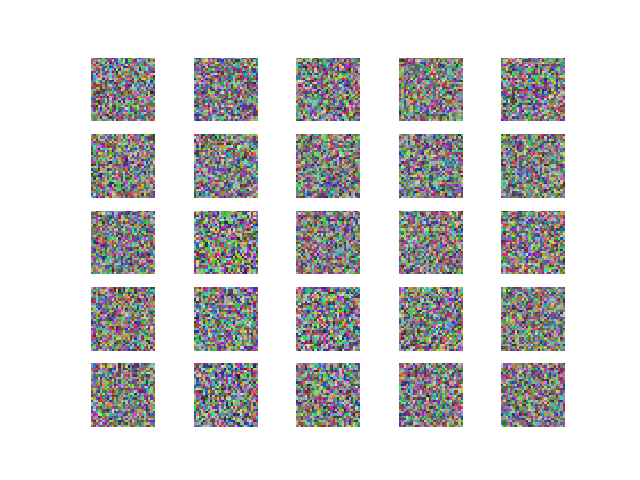
Using SGD ( Stochastic gradient descent optimizer). The output and the loss variations are shown in Figure 2 and 3 respectively.

Comment — Though the convergence is noisy we can see here that the generator loss is decreasing over epochs, which implies that the discriminator tends to detect fake images as real.
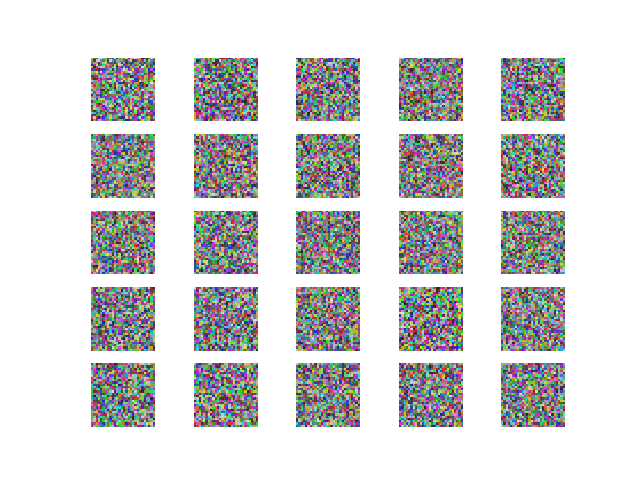
2. Using RMSProp optimizer. The output and the loss variations are shown in Figure 4 and 5 respectively.

Losses:

Comment — Here also the we see that the generator loss is decreasing which is a good thing. Surprisingly the discriminator loss on real images increases which is quite interesting.
3. Using Adam optimizer. The output and the loss variations are shown in Figure 6 and 7 respectively.


Comment — The adam optimizer yields the best looking results so far. Notice how the discriminator loss on fake images retains a larger value, meaning the discriminator tends to lean towards detecting fake images as real.
Remarks
I hope this post conveys a basic look into the inner workings of GANs from a practical perspective to understand and see how you could improve on the basic models. There are numerous implementations of GANs within the open source community on different applications and having a sound understanding on the first principles will help you immensely to understand the advancements. Also GANs being relatively new to Deep learning, there are many research avenues open for anyone interested.
So the possibilities are immense for you to explore!